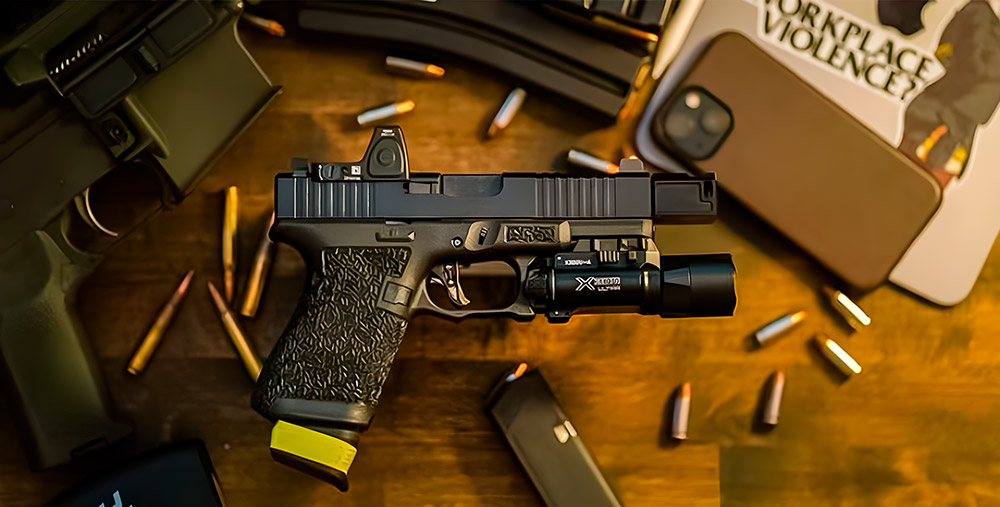
When it comes to personal protection, the Glock 43 is a reliable and popular choice. However, adding a few well-chosen accessories can greatly enhance its performance. With the right upgrades, your Glock 43 will be ready for anything. Whether you’re a first-time buyer or an experienced shooter, take some time to consider which accessories best suit your needs and enhance your personal protection setup.
Best Glock 43 Accessories
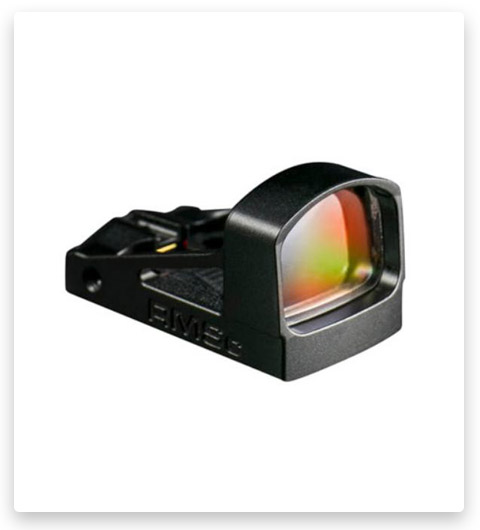
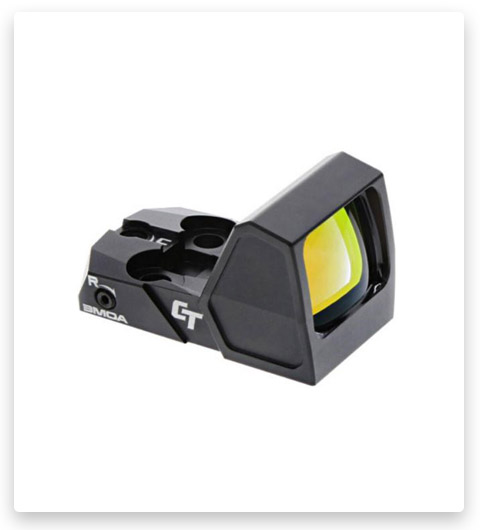
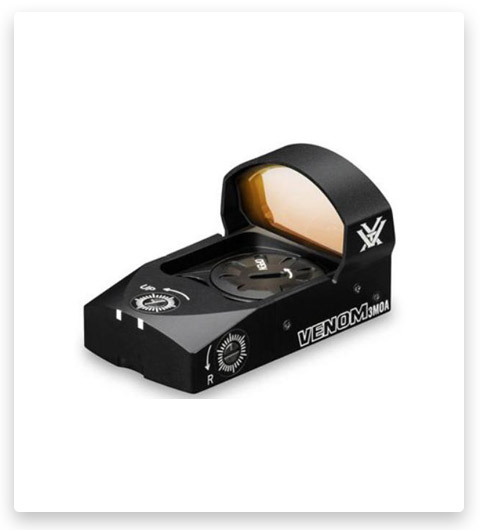
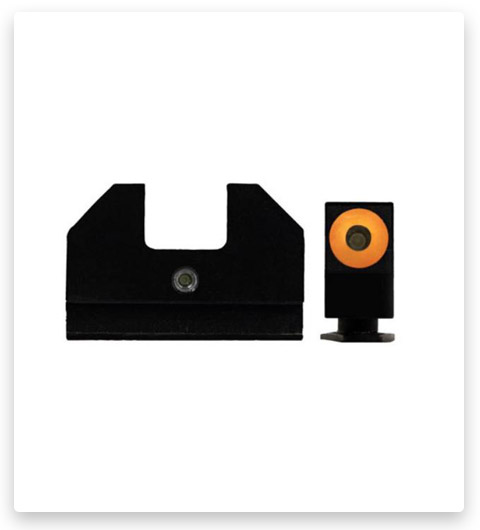
☑️ Red Dots And Sights – are a critical component of a handgun’s aiming system. These devices are designed to help shooters align the firearm with the target, allowing for accurate and precise aiming. Pistol sights typically consist of two components: a front sight and a rear sight.
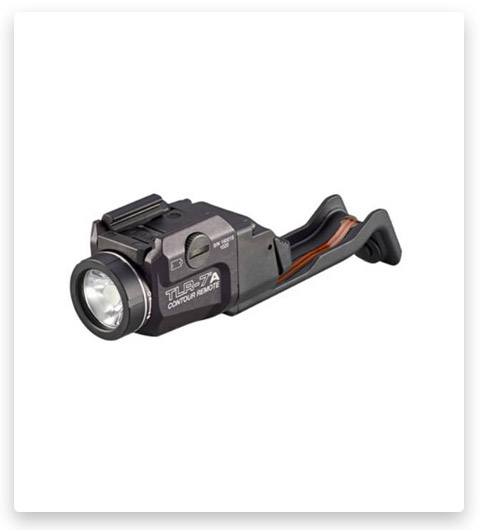
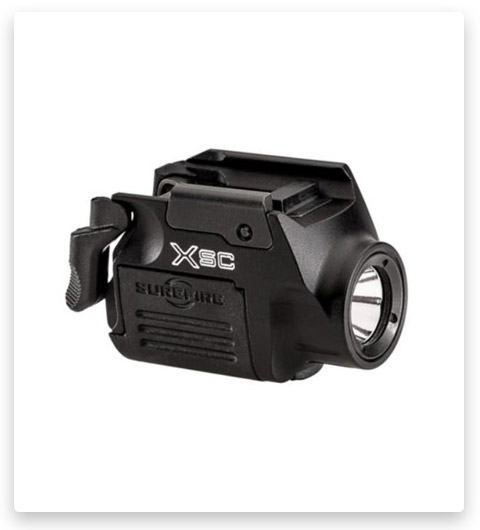
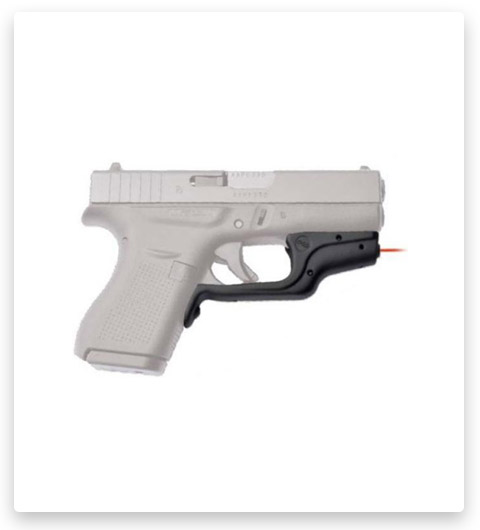
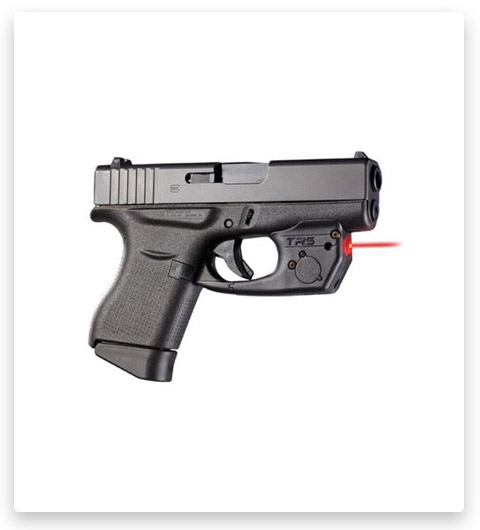
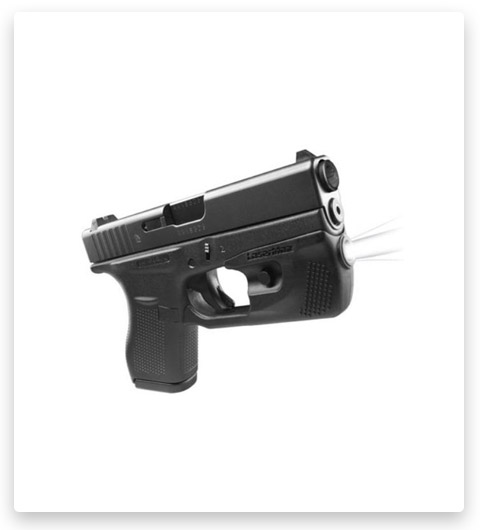
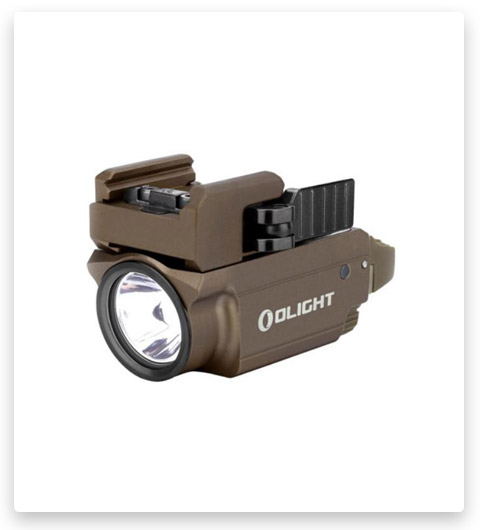
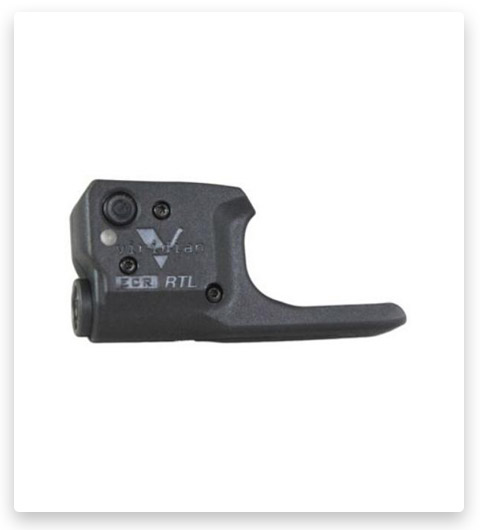
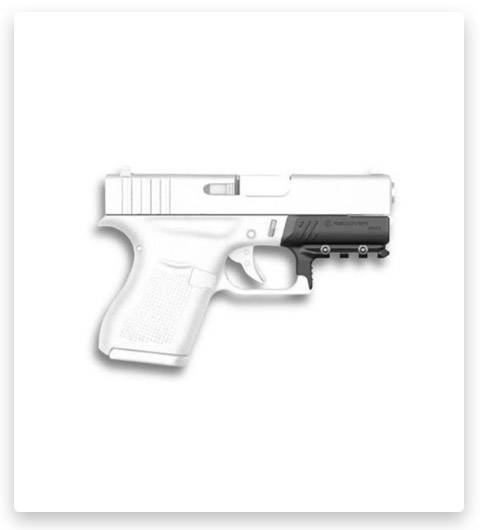
☑️ Light – is an accessory designed to attach to a handgun to provide illumination in low-light or no-light situations. Such lights are commonly used by law enforcement, military personnel, and civilians for various purposes, including self-defense and tactical applications.
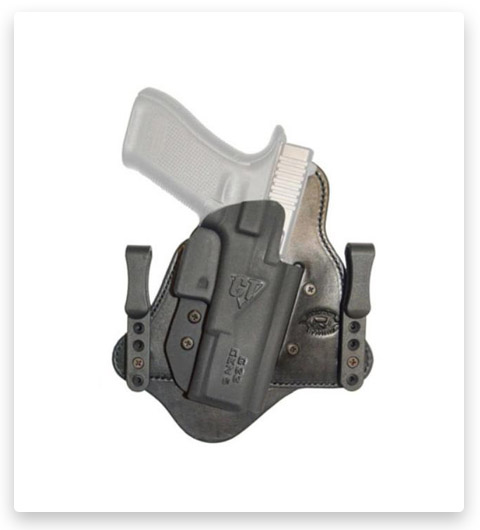
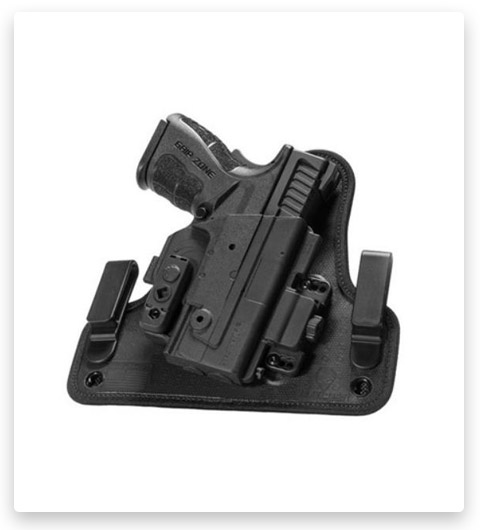
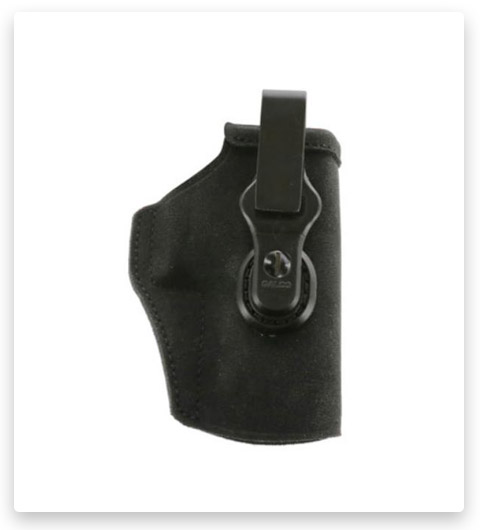
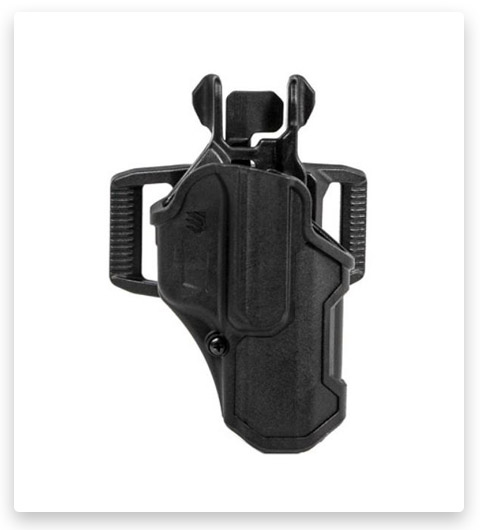
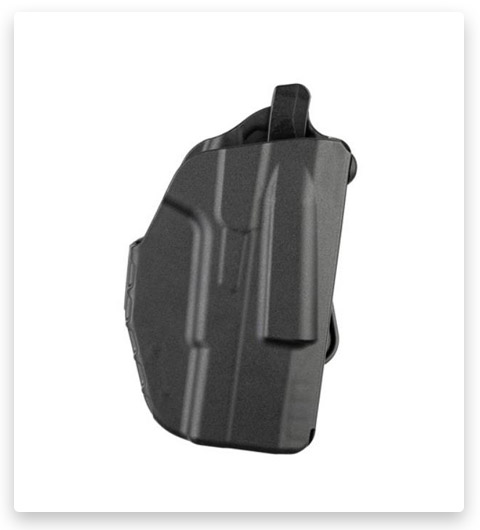
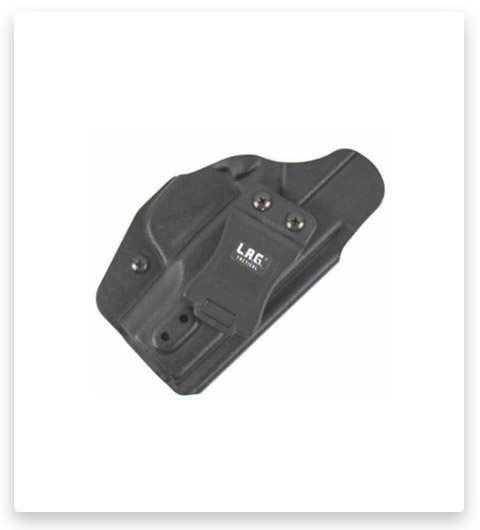
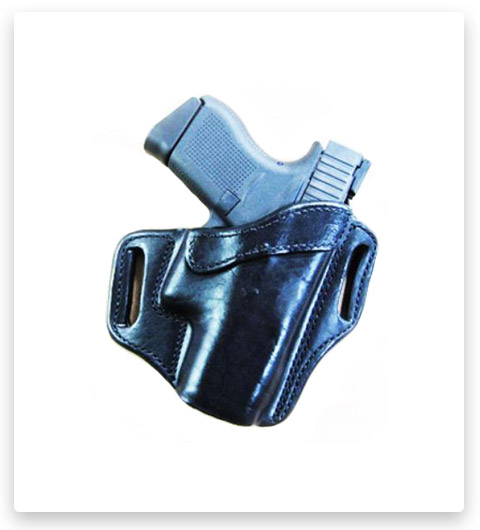
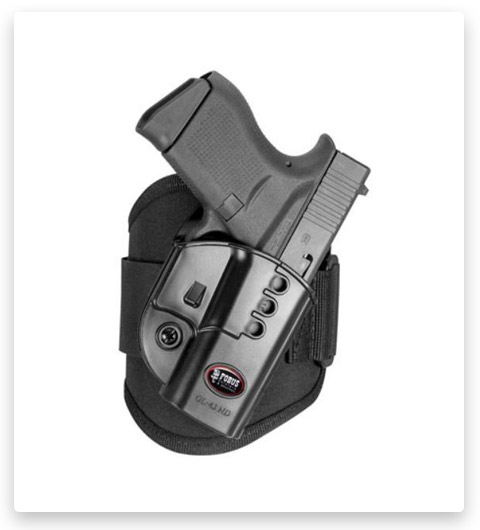
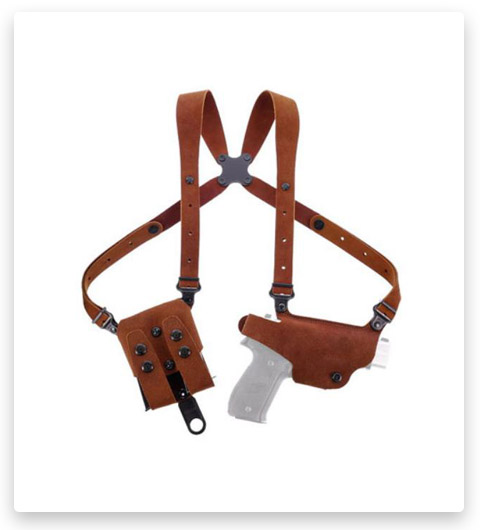
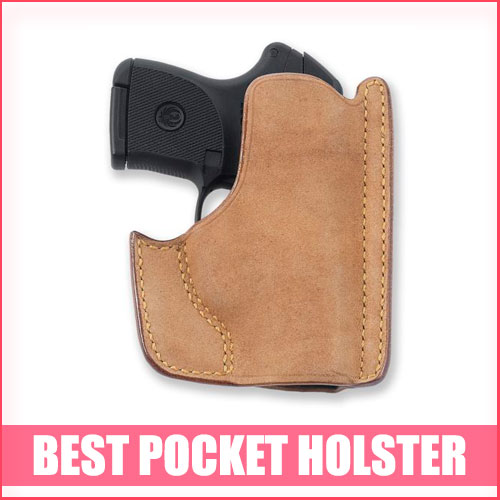
☑️ Holsters – are a specially designed carrying device that securely holds and protects the Glock 43 handgun when it is not in use. Holsters are an essential accessory for safely carrying and storing firearms, and they come in various designs and configurations to meet different needs and preferences.
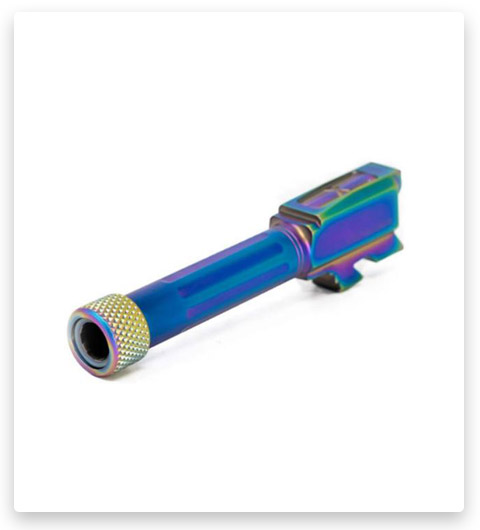
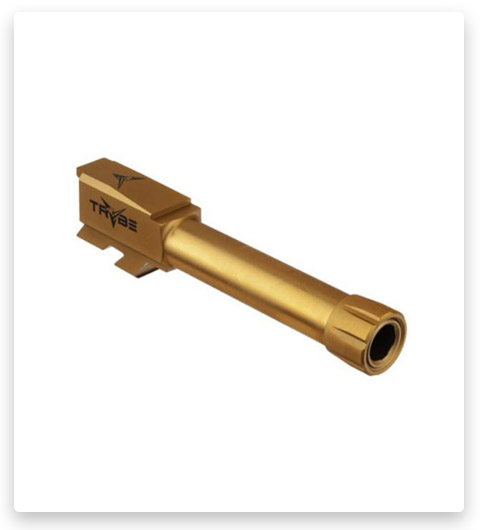
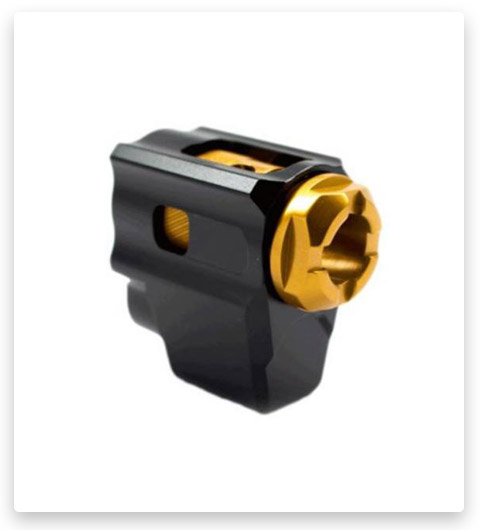
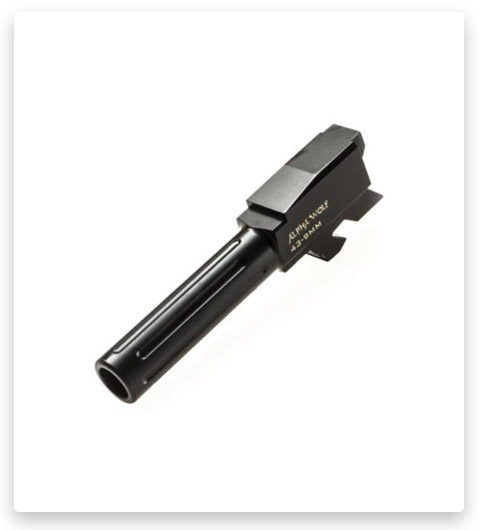
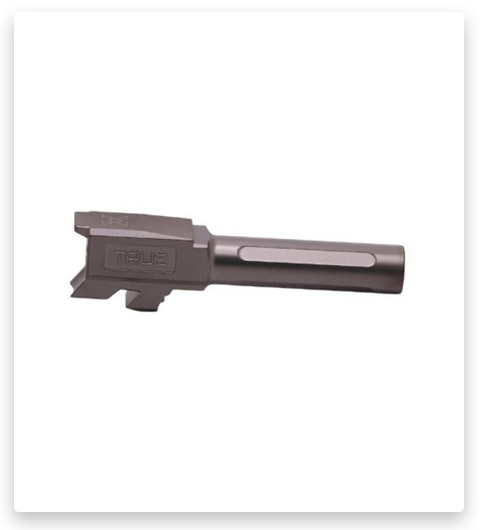
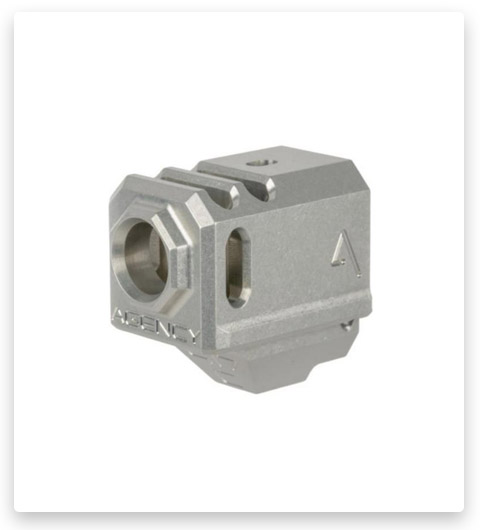
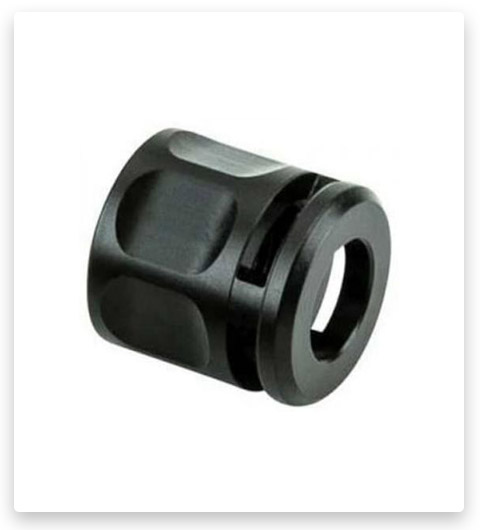
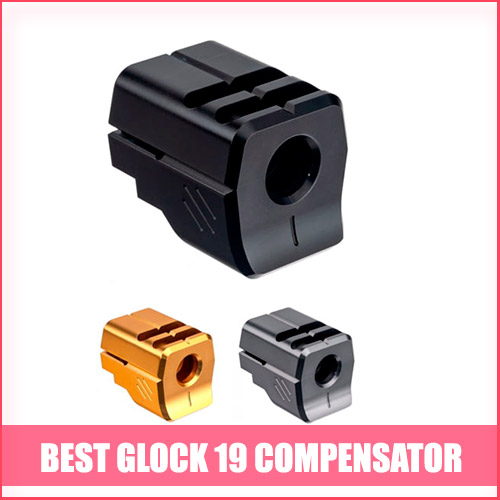
☑️ Barrels And Compensators – are firearm accessories that can be used to modify and enhance the performance of a Glock 43 pistol. A pistol barrel is a key component of a pistol, it is a metal tube or cylinder that is an integral part of the firearm’s frame. Compensators are muzzle devices designed to reduce muzzle rise and recoil when firing a firearm.
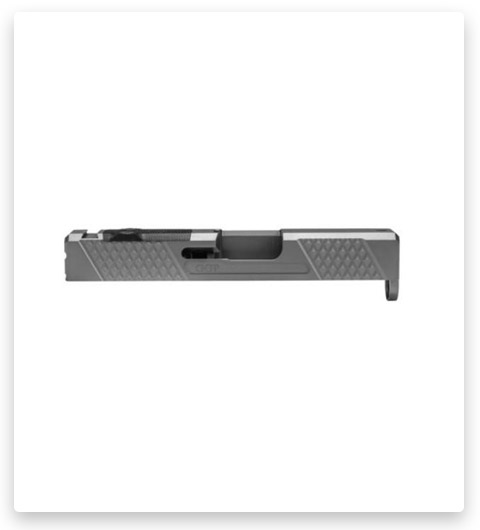
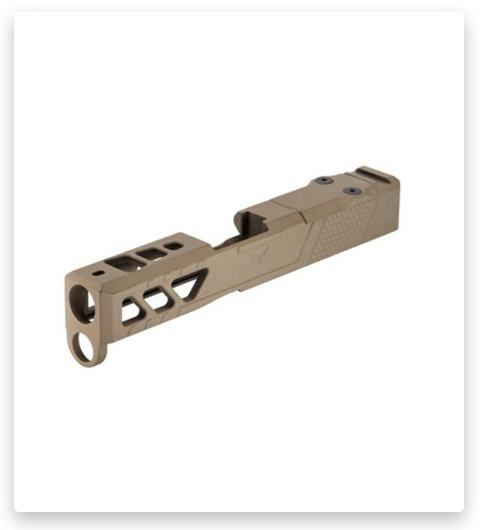
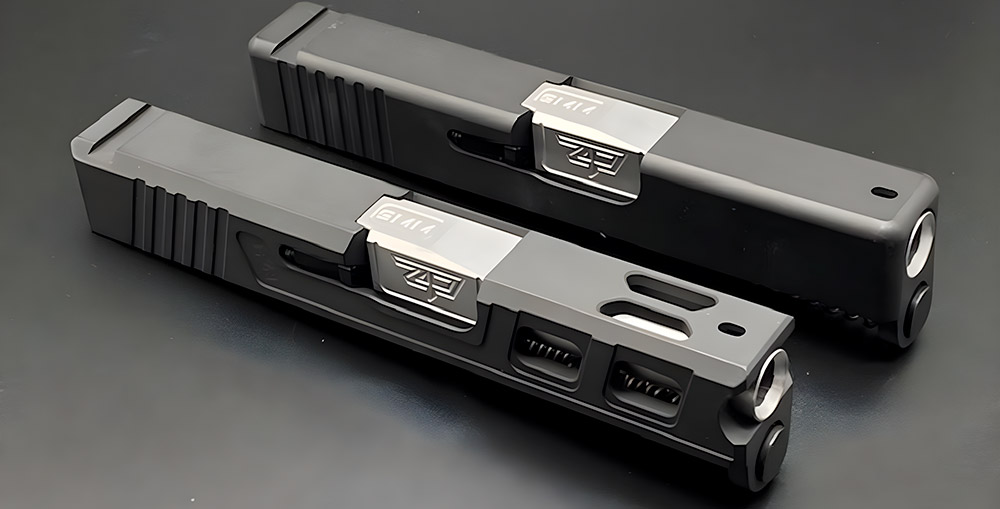
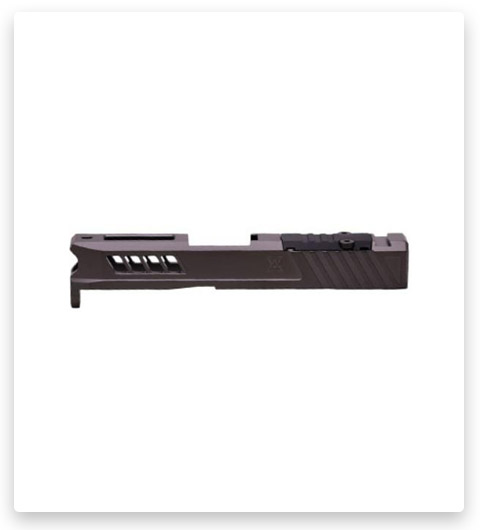
☑️ Upper Parts – are components that make up the upper half or slide assembly of the pistol. These parts are essential for the firearm’s function and include items like the slide, barrel, recoil spring, and other components.
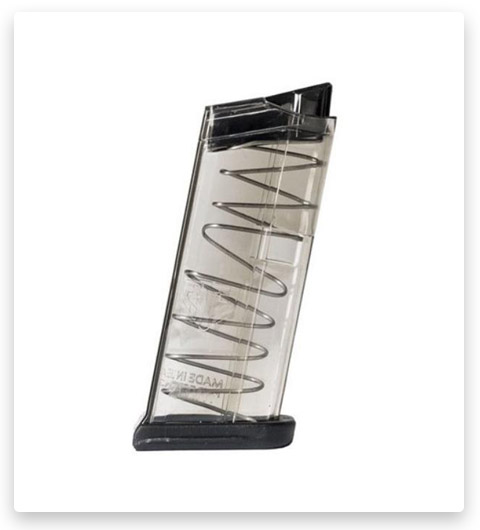
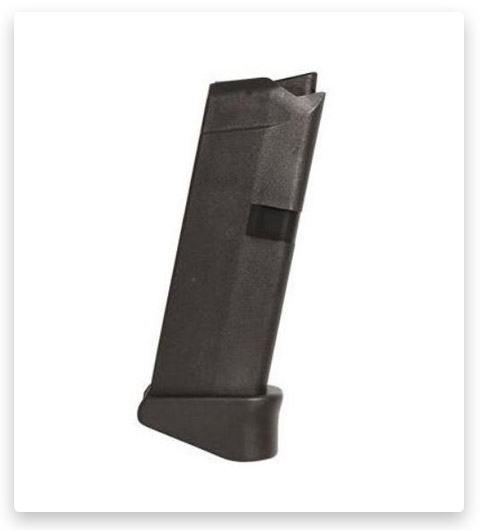
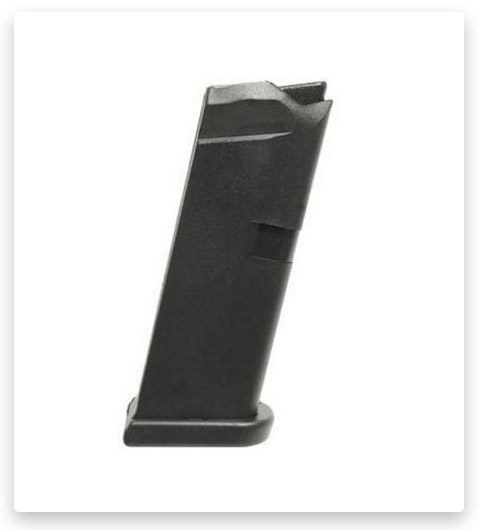
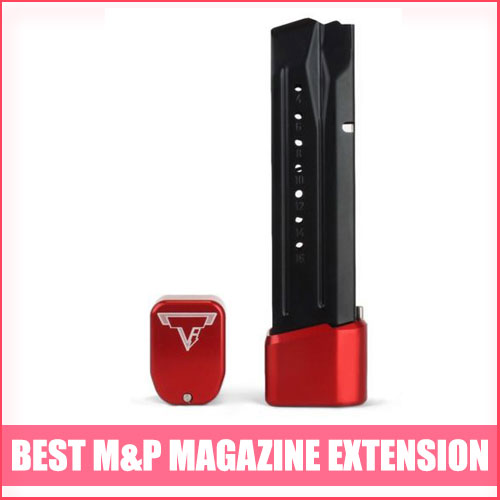
☑️ Magazines And Mag Related – refer to the essential components that hold and feed ammunition into the pistol. The standard Glock 43 magazine is a single-stack magazine with a capacity of 6 rounds of 9mm ammunition. Magazine extensions provide additional capacity by increasing the length of the magazine and allowing for more rounds to be loaded.
Whether upgrades and accessories for your Glock 43 are worth upgrading depends on your specific needs, preferences, and intended use of the firearm. Ultimately, the decision to upgrade should be based on a careful evaluation of your needs and priorities. It’s essential to research each modification thoroughly, consult with experienced shooters or gunsmiths, and test the firearm extensively after any changes to ensure it functions reliably and safely. While upgrades and accessories can enhance a firearm’s capabilities, they should not compromise safety or reliability.
Red Dots And Sights 🙂
Pistol sights are the aiming devices attached to a handgun, specifically the top of the slide or barrel, to help the shooter align the firearm accurately with the target. The primary purpose of pistol sights is to provide a reference point for aiming, allowing the shooter to achieve accurate shot placement.
Are red dots on pistols worth it? 🤔
Red dot sights (RDS) on pistols have gained significant popularity in recent years, and whether they are “worth it” depends on your specific shooting needs and preferences. Here are some factors to consider when deciding if a red dot sight on a pistol is right for you:
| 🔥 Accuracy: | Red dots can enhance accuracy, especially at longer distances and in rapid target acquisition scenarios. They provide a clear aiming point that’s easier to align with the target compared to traditional iron sights. This can be particularly beneficial for competitive shooting or self-defense situations where quick and accurate shots are crucial. |
| 🔥 Low-Light Performance: | Such sights with night vision capabilities (using tritium or other low-light technology) can improve target acquisition in low-light or nighttime conditions, making them valuable for self-defense purposes. |
| 🔥 Aging Eyes: | As shooters age, their eyesight may change, making it more challenging to focus on traditional iron sights. Red dot sights can mitigate this issue by providing a single, easily focused aiming point. |
| 🔥 Training: | Transitioning from iron sights to a red dot sight may require some training and practice to become proficient. However, many shooters find that the learning curve is manageable and worth the effort. |
📌 Ultimately, whether a red dot sight is worth it for you depends on your shooting goals, skill level, and comfort with technology. Many competitive shooters and self-defense enthusiasts find red dot sights to be a valuable addition to their pistols, while others may prefer the simplicity of traditional iron sights.
Benefits ✒️
Adding different sights to a Glock 43 or any handgun can offer several benefits, depending on the type of sights you choose and your specific shooting needs. Here are some of the advantages:
✅ Aftermarket sights can provide a more precise and consistent aiming point, enhancing your ability to hit your target accurately. This can be especially important in self-defense situations or competitive shooting.
✅ Some sight configurations, such as fiber optic or red dot sights, can facilitate faster target acquisition. This is particularly useful in dynamic or fast-paced shooting scenarios.
✅ Some aftermarket sights are adjustable for windage and elevation, allowing you to fine-tune your point of impact to match your ammunition and shooting conditions.
✅ Upgraded sights can improve your sight picture, helping you maintain proper alignment of the front and rear sights.
How to aim a pistol using different sights? 🎯
Aiming a pistol using iron sights or a red dot sight follows some basic principles, although there are differences in how you align and use each type of sight. Here’s how to aim a pistol using both iron sights and red dot sights:
| ⭕ Aiming with Iron Sights: | ⭕ Aiming with a Red Dot Sight: |
|
🔷 Front and Rear Sight Alignment: ⚡ Your primary focus should be on the front sight post or blade. It should be clear and sharp. ⚡ Keep the front sight centered in the rear sight notch or align it with the rear sight dots or lines. The tops of the front and rear sights should be level. 🔷 Sight Picture: ⚡ Bring the aligned sights to your target. The target should appear slightly blurry because your main focus is on the front sight. ⚡ Maintain proper sight alignment while keeping the front sight on the target. 🔷 Trigger Control: ⚡ As you maintain sight alignment on the target, concentrate on pressing the trigger smoothly and steadily without disturbing the alignment of the sights. ⚡ Continue focusing on the front sight after the shot breaks to ensure that you maintain proper sight alignment during recoil and follow-up shots. |
🔷 Acquiring the Dot: ⚡ Focus on the target: With a red dot sight, you can keep both eyes open and focus on the target. The red dot (or reticle) should appear superimposed on the target. 🔷 Dot Placement: ⚡ Place the dot on the target: Move the pistol so that the red dot is directly on the target where you want to place your shot. 🔷 Trigger Control: ⚡ Keep your focus on the red dot while smoothly and steadily pressing the trigger. ⚡ After the shot breaks, continue to keep your focus on the red dot to ensure proper alignment for follow-up shots. |
✍️ Remember that proficiency with either sight system comes with practice and training. Whether you prefer iron sights or a red dot, consistent practice and familiarity with your chosen system are key to accurate shooting.
What are the best sights for night shooting? 🌔
The choice of sights for night shooting, especially for self-defense purposes, depends on your specific needs and preferences. Tritium, fiber optic, and red dot sights all have their advantages and considerations for nighttime use in self-defense scenarios. Here’s a comparison:
| 💥 Advantages: | 💥 Considerations: | |
| ⭐️ Tritium Sights: |
🧩 Excellent low-light visibility: Tritium sights contain a radioactive isotope that continuously emits low-level radioactive particles, causing the sights to glow in the dark without requiring an external light source. 🧩 Always on: Tritium sights are “always on” and do not rely on batteries or external light sources to function, ensuring they are ready when needed. 🧩 Simple and low maintenance: Tritium sights require minimal maintenance and provide consistent illumination over several years. |
🧩 Limited brightness: Tritium sights are not as bright as some fiber optic or red dot sights, so they may not provide as clear a sight picture in total darkness. 🧩 Lifespan: Tritium sights have a limited lifespan (typically 10-15 years), after which they may require replacement. |
| ⭐️ Fiber Optic Sights: |
🧩 Bright sight picture: Fiber optic sights collect and channel ambient light to create a bright and easily visible sight picture, making them excellent for low-light conditions. 🧩 No batteries: Fiber optic sights do not rely on batteries and are always ready to use. |
🧩 Lack of illumination in complete darkness: Fiber optic sights depend on available light, so they may not be as effective in pitch-black conditions without external light sources. 🧩 Durability: The fiber optic rod can be relatively delicate and may require occasional replacement if damaged. |
| ⭐️ Red Dot Sights: |
🧩 Clear aiming point: Red dot sights provide a crisp, illuminated aiming point that is easy to see in various lighting conditions, including low light. 🧩 Fast target acquisition: Red dots allow for rapid target acquisition, making them suitable for self-defense scenarios. 🧩 Adjustable brightness: Many red dot sights allow you to adjust the brightness of the dot to match ambient lighting conditions. 🧩 Parallax-free: Most red dot sights are parallax-free at short distances, ensuring that the point of aim and point of impact coincide. |
🧩 Battery reliance: Red dot sights rely on batteries, so it’s crucial to ensure the sight is powered and that the batteries are fresh. 🧩 Learning curve: Transitioning to a red dot sight may require some training and practice to become proficient. |
⌛️ Ultimately, the best choice of sights for self-defense at night will depend on your individual needs, comfort level, and the conditions in which you expect to use your firearm. It’s essential to practice and become proficient with your chosen sight system to effectively defend yourself in low-light situations.
How to clean it? 🤔
Cleaning the sights on a Glock 43, or any firearm, is a relatively simple process. Here are the steps to clean it:
🛠️ Materials Needed:
- ✔️ Gun cleaning solvent or gun oil;
- ✔️ Cleaning patches or cotton swabs;
- ✔️ Bore brush (optional);
- ✔️ Soft brush or toothbrush;
- ✔️ Microfiber cloth or gun-cleaning cloth.
📢 Steps to clean it:
| 🔰 Safety First: | 💧 Always make sure your Glock 43 is unloaded and the chamber is clear. Remove the magazine and visually inspect the chamber to ensure there is no ammunition present. |
| 🔰 Field Strip the Glock 43: |
💧 To clean the sights thoroughly, it’s a good idea to field strip the pistol. Follow Glock’s instructions for field stripping, which typically involves: 💧 Pulling the trigger (with the gun pointed in a safe direction) to release tension on the slide. 💧 Pushing down on the takedown lever (located on both sides of the frame, just above the trigger guard). 💧 Sliding the slide forward and off the frame. |
| 🔰 Clean the Sights: |
💧 Apply a small amount of gun cleaning solvent or gun oil to a cleaning patch or cotton swab. 💧 Gently rub the solvent-soaked patch or swab over the sights, including the front and rear sights. This will help remove dirt, debris, and any residue. |
| 🔰 Use a Soft Brush: | 💧 If the sights are particularly dirty or have stubborn residue, you can use a soft brush or toothbrush to scrub them gently. Ensure the brush you use is clean and free from any abrasive particles that might scratch the sights. |
| 🔰 Inspect and Repeat: | 💧 After cleaning, inspect the sights to ensure they are clean and free from residue or fouling. If necessary, repeat the cleaning process until the sights are clean and free from any buildup. |
| 🔰 Dry and Lubricate: |
💧 Use a clean, dry patch or cloth to wipe off any excess solvent or oil from the sights. 💧 Apply a small amount of gun oil to a clean patch or cloth and lightly lubricate the sights to protect them from corrosion. Be sure to wipe off any excess oil. |
| 🔰 Reassemble the Glock 43: | 💧 Reassemble the pistol by reversing the field stripping process. Ensure all parts are properly aligned and the slide is fully seated on the frame. |
| 🔰 Function Test: | 💧 After reassembling the Glock 43, perform a function test to ensure the pistol operates correctly. Always follow safety guidelines when handling firearms. |
📌 Regular maintenance and cleaning of the sights, as well as the entire firearm, are essential for reliable operation and longevity. Remember to consult your Glock’s owner’s manual for specific cleaning and maintenance recommendations, as different Glock models may have slight variations in their design and requirements.
Glock 43 Light 🤓
A weapon light, also known as a pistol light or firearm light, is a specialized accessory that can be mounted on a handgun to provide illumination in low-light or no-light conditions. These lights are designed to assist the shooter in identifying potential threats, accurately aiming, and making critical decisions when using a pistol for self-defense, law enforcement, or tactical purposes.
How to shoot with it? 💥
Shooting with a weapon-mounted light is a critical skill for individuals who use handguns for self-defense, law enforcement, or tactical purposes. Here are some guidelines for shooting with such lights:
| ➡️ Proper Identification of Targets: |
⏰ Always positively identify your target and what is beyond it before engaging. Do not rely solely on the presence of a light to determine if someone is a threat. ⏰ Use your weapon-mounted light to illuminate potential threats or areas of concern. Avoid pointing your firearm at objects or individuals unless you have identified them as a threat. |
| ➡️ Support Hand Techniques: |
⏰ To operate the weapon-mounted light, use your support hand (non-dominant hand) to activate the light while keeping your firing hand on the handgun. ⏰ There are different techniques for activating weapon lights with the support hand, including thumb-activated switches, trigger guard-mounted switches, or pressure switches on the grip. |
| ➡️ Shooting Stance and Grip: |
⏰ Maintain a proper shooting stance and grip on your handgun while using the weapon-mounted light. Your shooting hand should remain on the grip, and your support hand should control the light. ⏰ Ensure that the light does not obstruct your sight picture or interfere with your ability to access critical handgun controls (e.g., trigger, slide release). |
| ➡️ Training and Practice: |
⏰ Seek professional training in low-light and no-light shooting techniques, including the use of weapon-mounted lights. In-person training from qualified instructors is invaluable. ⏰ Practice drawing, presenting, and shooting with your handgun while activating the weapon-mounted light under various lighting conditions. |
| ➡️ Shot Placement and Accuracy: |
⏰ Maintain your focus on the front sight of your handgun while using the weapon-mounted light. The light should illuminate your target, allowing you to maintain proper sight alignment and shot placement. ⏰ Practice trigger control to ensure accuracy in low-light conditions. Trigger control is crucial for shot placement, especially when using a light. |
| ➡️ Light Discipline: |
⏰ Use light discipline to your advantage. Avoid pointing the light directly at reflective surfaces (e.g., mirrors or glass) that can bounce light back at you, potentially compromising your position. ⏰ Be aware of your surroundings, including potential threats, bystanders, and cover and concealment options. |
| ➡️ Safety and Muzzle Control: |
⏰ Always adhere to the fundamental rules of firearm safety, including treating every firearm as if it’s loaded and keeping the muzzle pointed in a safe direction. ⏰ Avoid “muzzle sweeping” or pointing the firearm at anything you don’t intend to shoot, even when using the weapon-mounted light. |
| ➡️ Backup Lighting: | ⏰ Consider carrying a handheld flashlight as a backup light source. Handheld lights can be used for searching, identifying threats, and other tasks without pointing your firearm at them. |
📌 Remember that shooting in low-light conditions can be challenging and high-stress. Proper training and familiarity with your equipment are essential to safely and effectively use a weapon-mounted light. Always prioritize safety and responsible firearm handling when using any firearm accessory.
Benefits 👍
Adding a weapon light to a pistol offers several advantages for individuals who use handguns for self-defense, law enforcement, or tactical purposes. Here are some key benefits:
✳️ Improved Target Identification: Weapon lights provide the ability to identify potential threats and distinguish between threats and innocent bystanders in low-light environments. This can help prevent the mistaken shooting of innocent individuals.
✳️ Increased Accuracy: Properly illuminating a target allows for more accurate shot placement, as shooters can maintain proper sight alignment and trigger control while using the light to illuminate the target.
✳️ Enhanced Situational Awareness: A weapon-mounted light can illuminate the immediate surroundings, providing better awareness of the area and potential hazards. This increased awareness can be crucial in self-defense situations.
✳️ Hands-Free Operation: With a weapon light, shooters can use their support hand to manipulate doors, phone communication devices, or other tools while maintaining illumination on the target.
❗ It’s important to note that while weapon lights offer numerous advantages, they also require proper training and safe handling to avoid accidental discharges or unintentional illumination of non-threats. Individuals who choose to use weapon lights should invest time in training and practice to maximize the benefits and minimize the risks associated with this firearm accessory.
What are lumens & candela in weapon lights? ✨
Lumens and candela are two important measurements used to describe the output and characteristics of illumination produced by weapon lights and other lighting devices. Here’s an explanation:
| 💡 Lumens: | 💡 Candela: |
|
💣 Definition: Lumens (abbreviated as “lm”) is a unit of measurement that quantifies the total amount of visible light emitted by a light source in all directions. In simple terms, lumens represent the brightness or intensity of the light produced by a source. 💣 Application: They are commonly used to describe the overall output of a weapon light or flashlight. A higher lumen rating generally indicates a brighter light. This brightness is important for illuminating large areas or providing general visibility in low-light or no-light situations. 💣 Consideration: When comparing weapon lights, a higher lumen rating can be advantageous for enhancing situational awareness and covering a broader area with light. However, it’s important to strike a balance between brightness and other factors, such as runtime and heat generation. |
💣 Definition: Candela (abbreviated as “cd”) is a unit of measurement that quantifies the intensity or concentration of light in a particular direction. It measures the brightness of a light source at a specific angle or beam pattern. In essence, candela measures how intense the light is at the center of the beam. 💣 Application: It is especially relevant for weapon lights because it indicates the intensity of the hotspot or the focused center of the light beam. This intensity is important for illuminating targets at a distance and providing a clear and sharp sight picture when using a weapon light for aiming. 💣 Consideration: When evaluating weapon lights, the candela rating is crucial for determining their effectiveness in identifying and engaging targets at various distances. A higher candela rating means a more concentrated and intense beam, which can be advantageous for precision shooting. |
🚨 In summary, lumens describe the overall brightness of a weapon’s light, while candela measures the intensity or concentration of light in the beam. When selecting a weapon light, it’s essential to consider both lumens and candela to ensure they meet your specific needs, whether for general illumination and situational awareness or target identification and engagement at various distances.
Glock 43 Holsters 😊
A holster for a Glock 43 is a firearm holster specifically designed to securely hold and conceal a handgun, which is a popular model of pistol made by Glock. They come in various designs and configurations to suit different carry preferences and needs. The choice of holster type depends on personal preferences, the intended use (concealed carry, open carry, range shooting, etc.), and comfort.
How to choose a holster? 🔍
Choosing a holster for your Glock 43 is an important decision that should be based on your individual needs, preferences, and the intended use of the firearm. Here are some factors to consider when selecting a holster for your Glock 43:
| 1️⃣ Carry Method: Determine your preferred method of carry. Common methods include inside-the-waistband (IWB), outside-the-waistband (OWB), appendix carry, shoulder carry, ankle carry, and pocket carry. Choose a holster that aligns with your chosen carry style. |
| 2️⃣ Comfort: Holster comfort is essential, especially for everyday carry. Look for holsters with features like padded backings, sweat guards, or body shields that enhance comfort during extended wear. |
| 3️⃣ Retention: Ensure the holster provides adequate retention to secure the Glock 43 and prevent accidental dislodging. Holsters may use friction retention, adjustable tension screws, or active retention mechanisms like thumb breaks or retention hoods. |
| 4️⃣ Adjustability: Some holsters allow for adjustable cant (angle) and ride height, enabling you to customize the draw and carry position to your liking. |
| 5️⃣ Belt Attachment: Check the type of belt attachment provided by the holster. Common options include belt clips, loops, paddles, or wings. Ensure that the attachment method is compatible with your belt type and width. |
| 6️⃣ Material: Holsters are made from various materials, including Kydex, leather, nylon, and hybrid combinations. Consider the material’s durability, retention properties, and comfort when making your choice. |
| 7️⃣ Sweat and Moisture Protection: If you live in a humid climate or plan to carry in challenging weather conditions, choose a holster that offers protection against moisture and sweat to prevent corrosion on your Glock 43. |
| 8️⃣ Brand and Reviews: Research reputable holster brands and read reviews from other Glock 43 owners to gather insights on holster quality, durability, and performance. |
💡 Ultimately, the best holster for your Glock 43 is the one that offers the right balance of concealment, comfort, retention, and accessibility for your specific needs and lifestyle. It’s often helpful to try different holsters to find the one that works best for you, and training with your chosen holster is essential for safe and effective concealed carry.
Benefits 🔥
Using a holster for your Glock 43 offers several important benefits, whether you’re carrying it for self-defense, concealed carry, law enforcement, or recreational shooting. Here are some of the key advantages:
❇️ Holsters provide a secure and safe method to carry your Glock 43, covering the trigger guard and preventing accidental discharges. It minimizes the risk of negligent discharges when holstering or drawing the firearm.
❇️ A well-designed holster allows for efficient and rapid access to your pistol when needed.
❇️ Many holsters offer retention mechanisms that secure the firearm in place, preventing it from falling out or being easily accessed by unauthorized individuals.
❇️ Holsters are designed with user comfort in mind, featuring padded backings, sweat guards, or body shields to enhance comfort during extended wear.
Basics of Holsters: IWB vs. OWB 📢
When it comes to concealed carry holsters, two common options are Inside-the-Waistband (IWB) holsters and Outside-the-Waistband (OWB) holsters. Each type has its advantages and considerations. Here are the basics of such holsters:
| 📝 Inside-the-Waistband (IWB) Holsters: | 📝 Outside-the-Waistband (OWB) Holsters: |
|
✒️ Placement: IWB holsters are designed to be worn inside the waistband of your pants, typically positioned between the body and the waistband. ✒️ Concealment: IWB holsters are excellent for concealed carry because they tuck the firearm inside your clothing. This method minimizes printing (visible outline of the gun) and helps keep your firearm discreet. ✒️ Comfort: IWB holsters can be comfortable, especially when designed with features like padded backings or sweat guards. However, they may require an adjustment period to get used to the feel of a firearm against your body. ✒️ Draw: The draw from an IWB holster may require a slight sweep of clothing to access the firearm. Practice is essential to ensure a smooth and efficient draw. ✒️ Retention: IWB holsters often use adjustable tension screws or friction retention to secure the firearm. Ensure the holster provides sufficient retention to prevent accidental dislodging. ✒️ Concealed Carry Clothing: Choosing appropriate clothing is crucial with IWB holsters. You’ll need slightly larger pants to accommodate the firearm and holster comfortably. |
✒️ Placement: OWB holsters are worn outside the waistband and are typically attached to your belt or waistband. ✒️ Concealment: OWB holsters are not as concealable as IWB holsters, but they can still be concealed with the right clothing and cover garment (e.g., a jacket or untucked shirt). ✒️ Comfort: OWB holsters can be comfortable because they do not press the firearm against your body. They allow for airflow, reducing sweating and discomfort. ✒️ Draw: The draw from an OWB holster is generally quicker and more straightforward compared to IWB holsters. The firearm is readily accessible without sweeping clothing aside. ✒️ Retention: OWB holsters often offer adjustable retention mechanisms, including tension screws and active retention devices (e.g., thumb breaks or retention hoods). ✒️ Cover Garments: To conceal an OWB holster, you’ll need cover garments like untucked shirts or jackets. OWB holsters are more suitable for open carry or situations where concealment is not a top priority. ✒️ Training: OWB holsters may be preferred by those who engage in competitive shooting or open-carry scenarios. They can provide faster draw times and easier access to the firearm. |
📌 Ultimately, the choice between IWB and OWB holsters depends on your preferences, intended use, and clothing style. IWB holsters are ideal for deep concealment and are favored by many for everyday concealed carry. OWB holsters are excellent for open carry, range use, and situations where concealment is less critical.
Is it worth it? 🤔
Whether it’s worth upgrading your holster for a Glock 43 depends on several factors, including your specific needs, comfort, and the functionality of your current holster. Here are some considerations that can help you determine if upgrading your holster is worthwhile:
- ✨ If your current holster is uncomfortable or does not fit well with your body type or clothing choices, it may be worth upgrading to a holster that offers better comfort and concealment. A comfortable holster is more likely to encourage regular carry.
- ✨ The quality of your holster can impact its lifespan and overall performance. If your current holster is showing signs of wear and tear or is of questionable quality, investing in a higher-quality holster may be a wise decision.
- ✨ Some holsters offer extra features such as adjustable cant, adjustable retention, or built-in magazine pouches. If these features align with your preferences and needs, upgrading to a holster that offers them can be advantageous.
- ✨ Your holster should complement your training and practice regimen. If you’re transitioning to a different carry method or if your training reveals limitations in your current holster, consider upgrading to one that better suits your training objectives.
❗ Ultimately, the decision to upgrade your holster should be based on a careful assessment of your specific needs and any limitations you’re experiencing with your current holster.
Glock 43 Barrels And Compensators 😉
They are aftermarket accessories that can be added to a Glock 43 pistol to enhance its performance, accuracy, and recoil management. Barrels are available in various materials, finishes, and configurations, offering shooters several options to choose from. A compensator is a muzzle device attached to the end of the barrel. It is designed to redirect the gases expelled when firing a round, helping to reduce muzzle rise (the upward movement of the gun) and felt recoil.
How to choose a barrel? 🔍
Choosing a Glock barrel, whether for a Glock 43 or any other model, is an important decision that can impact the firearm’s performance and capabilities. Here are some factors to consider:
| ➡️ Material: | Glock barrels are commonly available in stainless steel, match-grade steel, or other high-quality materials. Stainless steel barrels are durable and corrosion-resistant, while match-grade barrels are known for their precision and accuracy. |
| ➡️ Finish: | Barrels may come with various finishes, such as stainless, black nitride, or other coatings. Consider a finish that suits your aesthetic preferences and offers corrosion resistance. |
| ➡️ Rifling: | Pay attention to the rifling profile of the barrel. Some aftermarket barrels feature improved rifling designs that can enhance accuracy and consistency in bullet flight. |
| ➡️ Threaded vs. Non-Threaded: | Decide whether you need a threaded or non-threaded barrel. Threaded barrels have external threads at the muzzle, allowing you to attach muzzle devices like suppressors or compensators. Non-threaded barrels are standard and compatible with most holsters. |
| ➡️ Budget: | Determine your budget for a new barrel. High-quality aftermarket barrels can vary significantly in price, so be prepared to balance your budget with your desired features. |
🚩 Remember that the primary goal when selecting a Glock barrel is to meet your specific needs and preferences. Whether you’re seeking improved accuracy, enhanced performance, or simply a replacement, thoroughly researching your options and choosing a reputable manufacturer will help ensure you make an informed decision.
Benefits ⚡
Barrels and compensators for Glock 43 pistols can offer several benefits when used in the appropriate context and for specific purposes. Here are some advantages:
🟣 Match-grade and precision barrels can enhance the accuracy of your Glock 43. They typically feature tighter tolerances and better rifling, leading to tighter shot groups.
🟣 Aftermarket barrels are available in various materials, finishes, and configurations, allowing you to customize your pistol to your preferences and needs.
🟣 Easier cleaning and maintenance may be possible with aftermarket barrels that have corrosion-resistant finishes or coatings.
🟣 Compensators are designed to redirect gases upward, counteracting muzzle rise and reducing recoil. This can lead to faster follow-up shots and better control of the firearm.
🟣 Reduced recoil and muzzle rise allow for quicker target reacquisition, particularly in competitive shooting or self-defense situations.
Should you use a comp on an EDC pistol? 🤠
The decision to use a compensator on your everyday carry (EDC) firearm, including a Glock 43 or any other concealed carry pistol, should be made carefully and with a thorough consideration of the potential advantages and drawbacks. Here are some factors to weigh:
✅ Advantages of Using a Compensator:
- 🔰 Recoil Management: Compensators can help reduce recoil and muzzle rise, making it easier to maintain control and accuracy during rapid or follow-up shots. This can be beneficial in high-stress self-defense situations.
- 🔰 Faster Target Reacquisition: Quicker follow-up shots may be possible with a compensator, which can be valuable in self-defense scenarios where multiple shots may be required.
- 🔰 Customization: Compensators allow you to tailor your EDC firearm to your preferences and needs, enhancing overall performance.
✅ Considerations and Drawbacks:
- 🔰 Concealment: Compensators can add length and bulk to the muzzle of your firearm, potentially making it more challenging to conceal. Printing (visible outline of the gun) can also become more noticeable.
- 🔰 Holster Compatibility: You’ll need a holster that accommodates a firearm with a compensator. Ensure you have a compatible holster that covers the trigger guard and provides adequate retention.
- 🔰 Muzzle Blast and Noise: Compensators redirect gases upward and to the sides, which can result in increased muzzle blast and noise. This can be a disadvantage in close-quarters self-defense situations.
🛑 Ultimately, the decision to use a compensator on your everyday carry firearm depends on your specific needs, preferences, and the trade-offs you are willing to accept. Many concealed carriers opt for minimal modifications to their EDC firearms to ensure simplicity, reliability, and ease of concealment. It’s essential to carefully weigh the advantages and drawbacks of using a compensator and to prioritize safety, concealability, and legal compliance when making your choice.
Glock 43 Upper Parts 😀
The upper parts of a Glock 43 refer to the components located in the slide of the firearm. These parts are essential for the functioning of the pistol and include various components that work together to load, fire, and eject cartridges. Proper maintenance, inspection, and occasional replacement of these components are essential to ensure the reliable and safe operation of the pistol.
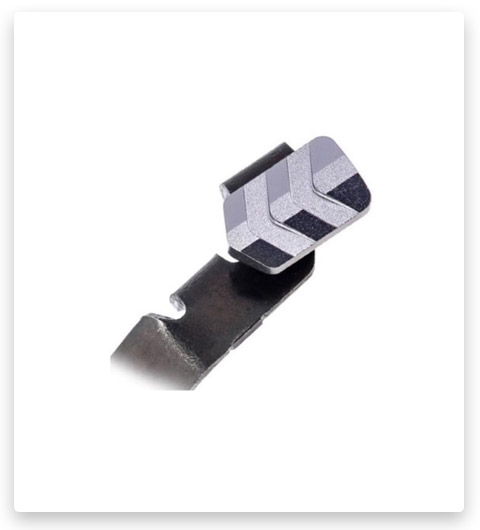
How to install/remove a slide release? ⚙️
The slide release (also known as the slide stop lever) on a Glock pistol can be installed and removed relatively easily, but it’s essential to do so carefully and safely. Here are the steps for installing and removing the slide release on a Glock 43 or any Glock model:
🧑🔧 Installation of the Slide Release:
| 🟦 Remove the Existing Slide Release (if applicable): |
✔️ If you are replacing an existing slide release, press the existing one’s spring-loaded shaft inward (from the right side of the frame) while simultaneously pushing the slide release lever out from the left side of the frame. ✔️ If there is resistance or the lever does not come out easily, you may need to use a punch or Glock tool to push the shaft inward while applying gentle pressure on the slide release from the opposite side. Be careful not to damage the frame or other components. |
| 🟦 Install the New Slide Release: |
✔️ Insert the new slide release lever into the frame from the left side. ✔️ Ensure that the spring-loaded shaft on the right side of the frame aligns with the hole in the slide release lever. |
| 🟦 Function Check: | ✔️ With the slide release lever in place, function check the firearm to ensure it operates correctly. Ensure the slide locks back when the magazine is empty and releases when the magazine is inserted. |
🧑🔧 Removal of the Slide Release (if needed):
| 🟦 Safety Check: | As always, make sure the firearm is unloaded. |
| 🟦 Field Strip the Glock: | Field strips the Glock as mentioned earlier, removing the slide from the frame. |
| 🟦 Access the Slide Release Spring (on the right side): |
✔️ On the right side of the frame, you will see the slide release spring that interfaces with the slide release lever. ✔️ Use a Glock tool, small screwdriver, or similar tool to gently push the spring down and out of its recess in the frame. |
| 🟦 Remove the Slide Release Lever (on the left side): | ✔️ While keeping the spring depressed, push the slide release lever out from the left side of the frame. |
| 🟦 Inspect and Clean: | ✔️ After removing the slide release, inspect it for wear or damage. Clean the area where the slide release was located on the frame. |
| 🟦 Reassembly: |
✔️ To reassemble, reverse the steps for installation provided earlier. ✔️ It’s crucial to exercise caution when working on firearms and to be aware of the specific components and safety features of your Glock model. |
Benefits ⌛️
Upgrading or customizing the upper parts of a Glock 43, such as the barrel, slide, and sights, can offer various benefits depending on your specific needs and preferences. Here are some of the advantages:
✴️ High-quality barrels and slides can contribute to the overall reliability of your Glock 43. They are less prone to wear and may be more resistant to fouling and corrosion, ensuring consistent performance.
✴️ Compensators and recoil springs can help manage recoil, reducing muzzle rise and allowing for faster follow-up shots.
✴️ Improved sights and reduced recoil contribute to faster target reacquisition, which can be crucial in self-defense situations or competitive shooting.
✴️ Night sights or red dot sights can offer a tactical advantage in low-light situations, making it easier to acquire targets and maintain situational awareness.
How to disassemble a slide? 🛠️
Disassembling the slide of a Glock 43 is a critical maintenance task that allows you to clean, inspect, and maintain the firearm. Here are step-by-step instructions:
🛑 Always ensure the firearm is unloaded and that there is no ammunition present before beginning any disassembly or maintenance. Follow proper safety protocols and keep the firearm pointed in a safe direction during the process.
| 💥 Clear the Firearm: Perform a trigger reset by pulling the trigger while keeping it pointed in a safe direction. This will help decock the Glock 43 if it was previously loaded. |
| 💥 Disengage the Slide: While maintaining a proper grip on the pistol, pull the slide slightly to the rear until the slide stop lever (slide release) aligns with the takedown notch on the slide. |
| 💥 Slide Stop Lever: With the slide stop lever aligned with the takedown notch, use your thumb or a Glock tool to push the slide stop lever out from the right side of the frame. This will release the slide from the frame. |
| 💥 Remove the Slide: Carefully slide the entire slide assembly forward and off the frame. Be cautious as you do this to avoid damaging any components. |
| 💥 Disassemble the Recoil Spring Assembly: Once the slide is removed, you can further disassemble the slide by taking out the recoil spring assembly. To do this, simply grasp the guide rod and spring and lift them out of the slide. |
| 💥 Remove the Barrel: To remove the barrel, push it slightly forward from the rear of the slide, then lift it out of the slide. Be mindful of the feed ramp on the underside of the barrel. |
✍️ You have now successfully disassembled the slide of your Glock 43. You can proceed with cleaning, inspecting, or performing any necessary maintenance on the components.
Glock 43 Magazines And Mag Related 🤩
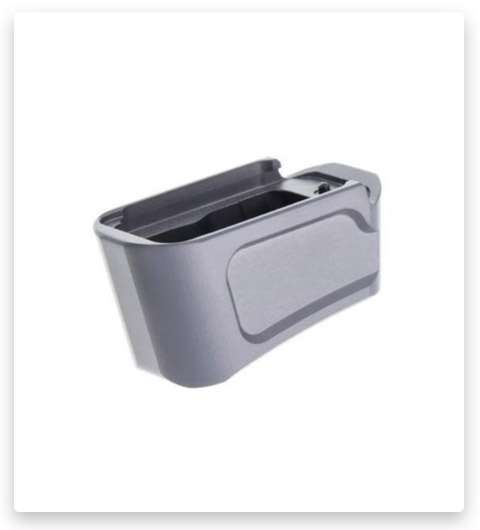
Magazines and mag-related accessories for the Glock 43, like other firearms, play a crucial role in ammunition storage, feeding, and overall functionality. Magazines are designed for concealed carry and offer a compact grip profile. Magazine extensions are accessories that attach to the base of the standard or extended magazines, increasing the grip length and capacity.
Glock 43X vs 43 mag options 💡
The Glock 43X and Glock 43 are both popular subcompact 9mm pistols, and they have similar magazine options. However, there are some differences between the two models, particularly when it comes to magazine capacity.
| 📚 Glock 43 (G43): | 📚 Glock 43X (G43X): |
|
🔐 The Glock 43 is a single-stack 9mm pistol with a standard magazine capacity of 6 rounds. 🔐 It comes with flush-fit magazines that hold 6 rounds in the magazine, plus one in the chamber for a total of 7 rounds. 🔐 Extended magazine options are available, typically adding 1 or 2 additional rounds to the capacity. These extended magazines may protrude slightly from the grip. |
🔐 The Glock 43X is similar in size to the Glock 43 but features a wider grip, allowing for a larger magazine capacity. 🔐 The standard magazine for the Glock 43X is a 10-round capacity magazine. This provides a significant increase in firepower compared to the Glock 43. 🔐 Like the Glock 43, the Glock 43X also accepts extended magazines, which can provide even higher capacities, such as 15 or 24 rounds. |
📢 The magazines for the Glock 43X are not compatible with the Glock 43 due to the differences in grip width. However, some aftermarket companies offer magazine extensions and adapters that can allow you to use Glock 43X magazines in a Glock 43, effectively increasing its capacity.
Benefits 🔆
Magazines and magazine-related accessories for the Glock 43 offer several benefits, enhancing the firearm’s performance, versatility, and user experience. Here are the advantages:
🔷 Extended magazines and magazine extensions provide higher ammunition capacity, allowing for more rounds in each magazine. This can be beneficial for self-defense, home defense, or extended shooting sessions at the range without frequent reloading.
🔷 Base pads enhance the grip area of the Glock 43. This can improve overall comfort and control when shooting, especially for individuals with larger hands.
🔷 They can facilitate faster and more secure magazine changes. This can be crucial in self-defense scenarios where quick reloads are essential.
🔷 Mags extensions can provide additional surface area for your hand to grip, enhancing control and reducing recoil when firing.
How to install a magazine extension? 🔧️
Installing a magazine extension on a Glock 43 is a straightforward process that can be completed with minimal tools and effort. Here are the step-by-step instructions:
🛠️ Tools and Materials:
- ⚙️ Glock 43 magazine;
- ⚙️ Magazine extension kit (includes extension, spring, and base pad);
- ⚙️ Glock tool (optional, for removing the factory base plate).
➡️ Installation Steps:
| 🧩 Safety Check: Confirm that your Glock 43 is unloaded by removing the magazine and visually and physically inspecting the chamber to ensure there is no ammunition present. |
| 🧩 Remove Factory Base Plate (Optional): If your magazine extension kit includes a replacement base pad, you’ll need to remove the factory base plate. To do this, use a Glock tool or a flathead screwdriver to depress the locking tab located on the back of the magazine. While depressing the tab, slide the factory base plate forward off the magazine body. Be careful as the spring may be under tension. |
| 🧩 Replace or Install the Magazine Extension: Insert the magazine spring provided with the extension kit into the magazine body, ensuring it sits flat against the inside of the magazine. |
| 🧩 Slide on the Extension: Attach the magazine extension by sliding it onto the magazine body, ensuring that it aligns with the notches on the sides of the magazine. You may need to push it firmly until it clicks into place. |
| 🧩 Test Functionality: After attaching the extension, check that the magazine extension functions properly. Ensure the spring and follower move freely and that the extension sits securely on the magazine. |
📌 The installation of a magazine extension for the Glock 43 is generally a straightforward process, but it’s essential to perform it carefully and follow safety guidelines to prevent damage to the magazine or your firearm.
FAQ🧐
Conclusion 🤠
The Glock 43 is a great handgun, but it can be even better with the right accessories. In this buyer’s guide, we’ve listed some of the best upgrades and accessories available on the market today. We’ve also included product reviews and useful tips to help you make an informed purchase. Whether you’re searching for a new holster, sights, or magazine extensions, we’ve got you covered. Thanks for reading! 🥰💝
Affiliate Disclosure: Rotorm.com sometimes gets paid for listings, through sponsors or affiliate programs like Amazon, Optics Planet, Lucky Gunner, Brownells, Cabelas, Rainier Arms, 5.11 Tactical, Bass Pro Shop, etс. Clicking a link helps keep Rotorm.com free, at no extra cost to you!
About the author: Each article on our site is written by experts in survival and tactical equipment, gun enthusiasts, extreme travelers, military, law enforcement and desperate professionals, read about the author at the bottom of the article or visit "About Us" page.
Note: The views and opinions expressed in this article are those of the authors and do not necessarily reflect the official policy or position of any agency.

Recently acquired a Glock 43 for $260. This marks my first Glock, although I’m no stranger to handguns. Before I dive into purchasing modifications, I’d like to gather opinions on worthwhile upgrades. I’m looking for recommendations on accessories to enhance my Glock 43, and I want to make informed decisions rather than impulse purchases.
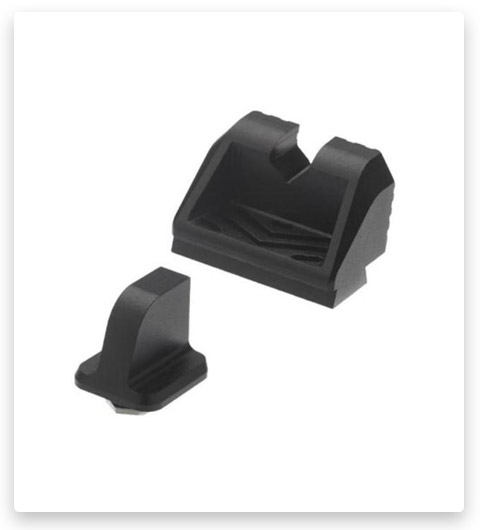
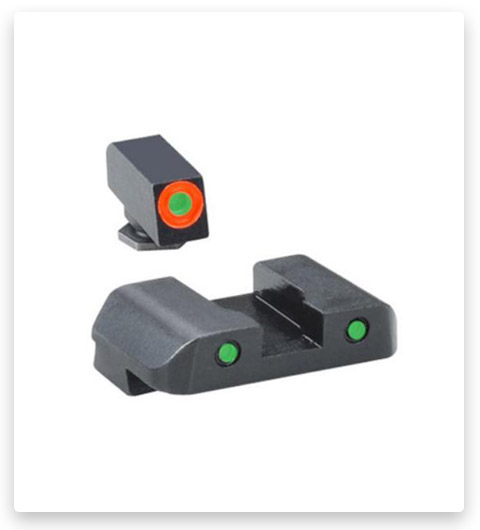
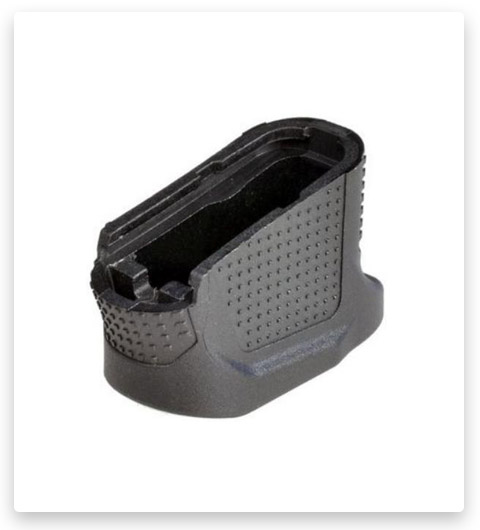
I purchased the Strike Industries SI Enhanced Magazine Plate and installed a set of Ameriglo Spartan Tactical Tritium Night Sight Set Orange/Green on my Glock 43. They have made a significant difference in my experience with the firearm.
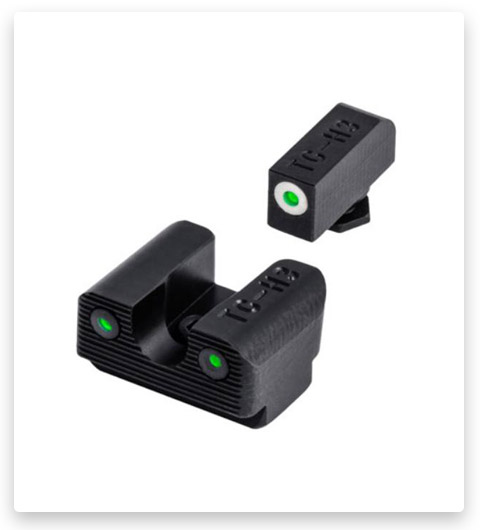
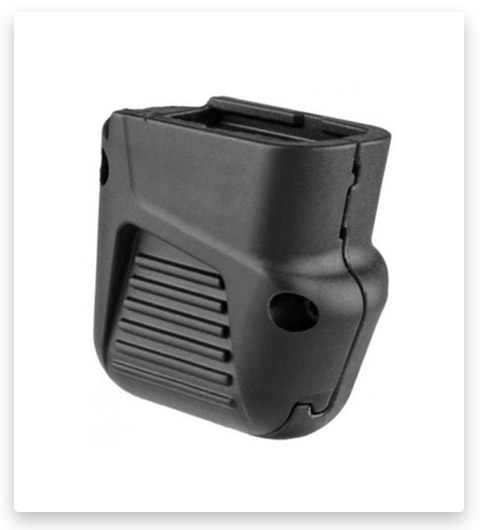
Here’s a list of essentials I recommend: FAB Defense 4 Round Magazine Extension For Glock 43 – is a practical addition for increasing magazine capacity. TruGlo Tritium Pro Green Sight Set provides enhanced visibility in low-light conditions, improving accuracy and target acquisition. If you’re interested in suppressed shooting, a Faxon Firearms Match Series Glock 43 Threaded Barrel is a valuable addition to your Glock, allowing you to attach a suppressor for quieter shooting sessions.
I’m interested in enhancing my EDC setup. Currently, my Glock is in its stock configuration without night sights. I’d appreciate input from others who use this firearm for their EDC. Any further recommendations would be welcome.
😉 When it comes to enhancing your Glock 43 for everyday carry (EDC), there are several modifications and accessories you might consider. Keep in mind that “must-have” mods can vary depending on individual preferences and needs. Here are some popular modifications and accessories:
🔰 Night Sights: Upgrading to night sights can greatly improve low-light or nighttime visibility, which is crucial for EDC.
🔰 Magazine Extensions: Magazine extensions can increase your magazine capacity without significantly increasing the size of the pistol, providing you with extra rounds for self-defense.
🔰 Quality Holster: A high-quality holster designed for EDC is essential. Look for one that offers retention, comfort, and easy concealment.
🔰 Concealed Carry Apparel: Consider clothing designed for concealed carry, such as holstered undershirts, vests, or jackets, to help with discreet carry.
🔰 Ammo and Training: Stock up on quality self-defense ammunition and regularly practice with it at the range. Also, consider taking self-defense and concealed carry training courses to hone your skills.
🔰 Weapon Light: If you carry in low-light conditions or for home defense, a weapon-mounted light can be beneficial for target identification.
📌 Remember that the best modifications for your Glock 43 will depend on your personal preferences, comfort, and specific EDC requirements. Before making any modifications, ensure that you train with your upgraded setup to maintain safety and proficiency.
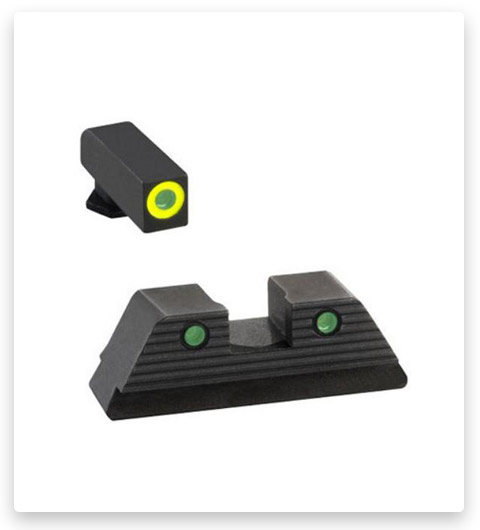
For an EDC setup, it’s crucial to stock up on ammunition and spend plenty of time at the range running drills. Until you’ve gained a solid understanding of what works best for you, there’s no pressing need for additional accessories. In my experience, the only two modifications I’ve found necessary for my Glock were upgrading to AmeriGlo Trooper Tritium Night Sights Set and adding a Strike Industries SI Enhanced Magazine Plate. Everything else has performed well right out of the box.
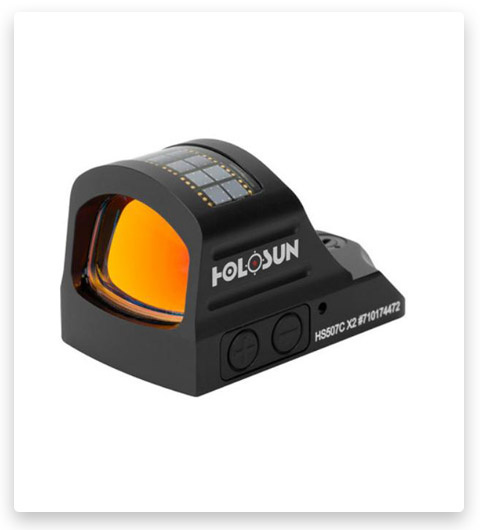
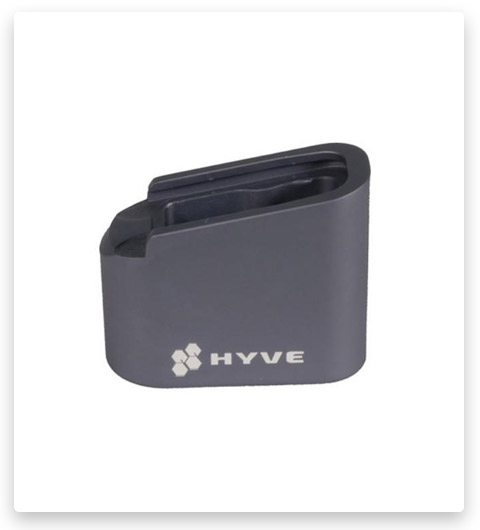
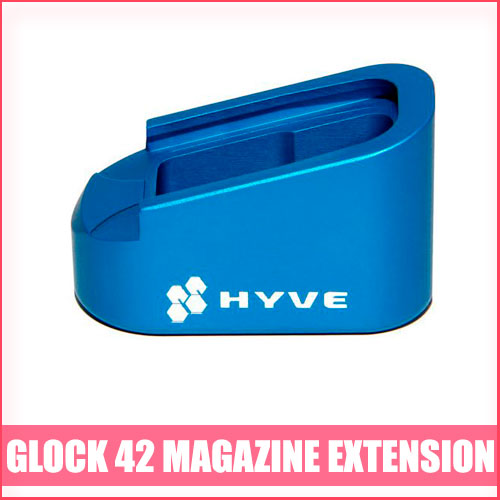
When it comes to Glock modifications, there aren’t any absolute must-haves, but there’s certainly a list of desires. In my case, I opted for simplicity, adding a Holosun HS507C-X2 Reflex Red Dot Sight, and a HYVE Technologies Glock 43 Magazine Extension Base Pad.
I recently purchased a Glock 43 as a birthday gift for my girlfriend, and I’ve been searching for custom parts to enhance it. Can you help me with it?
The HYVE Technologies Glock 43 Magazine Extension Base Pad for your magazine should be the first must-have accessory to buy.
I suggest adding Trijicon Bright And Tough 3-Dot Night Sights for improved low-light visibility, obtaining an Alien Gear Holsters ShapeShift 4.0 IWB Holster, and securing your concealed carry license if you haven’t already. Mastering the slim-line Glock trigger will benefit your overall shooting proficiency. Regarding magazines, you can use the magazines that came with the gun and consider purchasing a few extra for practice and carry.
I’m fairly new to Glock handguns. At the moment, I own a G17 and a G41, and I have a G43 on order. I’ve always appreciated the simplicity and aesthetics of Glocks, and I’ve never really considered adding or changing anything on them. However, are there any performance upgrades that you would consider indispensable for shooting?
🤔 As for performance upgrades that can be considered indispensable for shooting, it largely depends on individual preferences and the specific purpose of the firearm. However, here are some standard performance upgrades that some shooters find beneficial:
☑️ Sights: Upgrading the sights to improve target acquisition and accuracy can be a significant enhancement. This includes night sights, fiber-optic sights, or high-visibility sights tailored to your shooting environment.
☑️ Magazine Extensions: Magazine extensions can increase your round capacity for both self-defense and competition shooting. However, ensure they don’t compromise reliability.
☑️ Barrel: While less common for Glocks, upgrading to a match-grade or threaded barrel can enhance accuracy and allow for the attachment of suppressors or compensators.
☑️ Optics: Mounting a red dot optic on your Glock can provide faster target acquisition and increased accuracy. However, this typically requires milling the slide or using an optics-ready model.
✍️ It’s essential to consider your specific needs and goals when deciding on performance upgrades. What works well for one shooter may not suit another. Before making any modifications, thoroughly research each upgrade, and consider seeking advice from experienced shooters or firearms instructors. Additionally, always prioritize safety and reliability when making changes to a self-defense firearm.
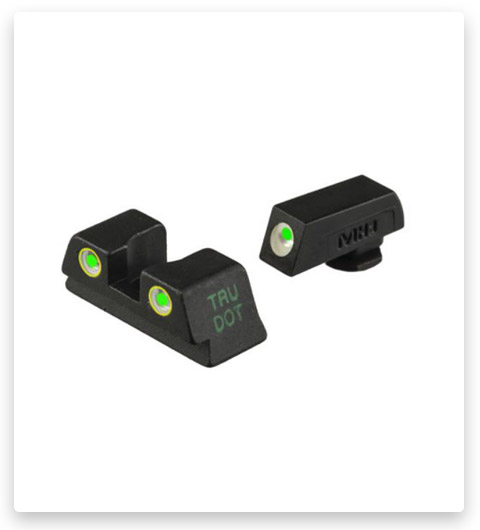
The answer to your question depends on the intended use of the firearm. I strongly believe in keeping a defensive pistol in its stock configuration with a few exceptions. One critical upgrade, in my opinion, is changing out plastic sights. I fall into the camp of preferring night sights because I’d rather have them and not need them than vice versa, for example, Meprolight Tru-Dot Height 6.6 Fixed Night Sights. This could be considered the bare minimum upgrade, and it might be the only one you need. However, it’s essential to determine your specific needs based on your shooting experience.